🍪 Bakery-Style Chocolate Chip Cookies That Taste Just Like Your Favorite Local Spot
1. Introduction
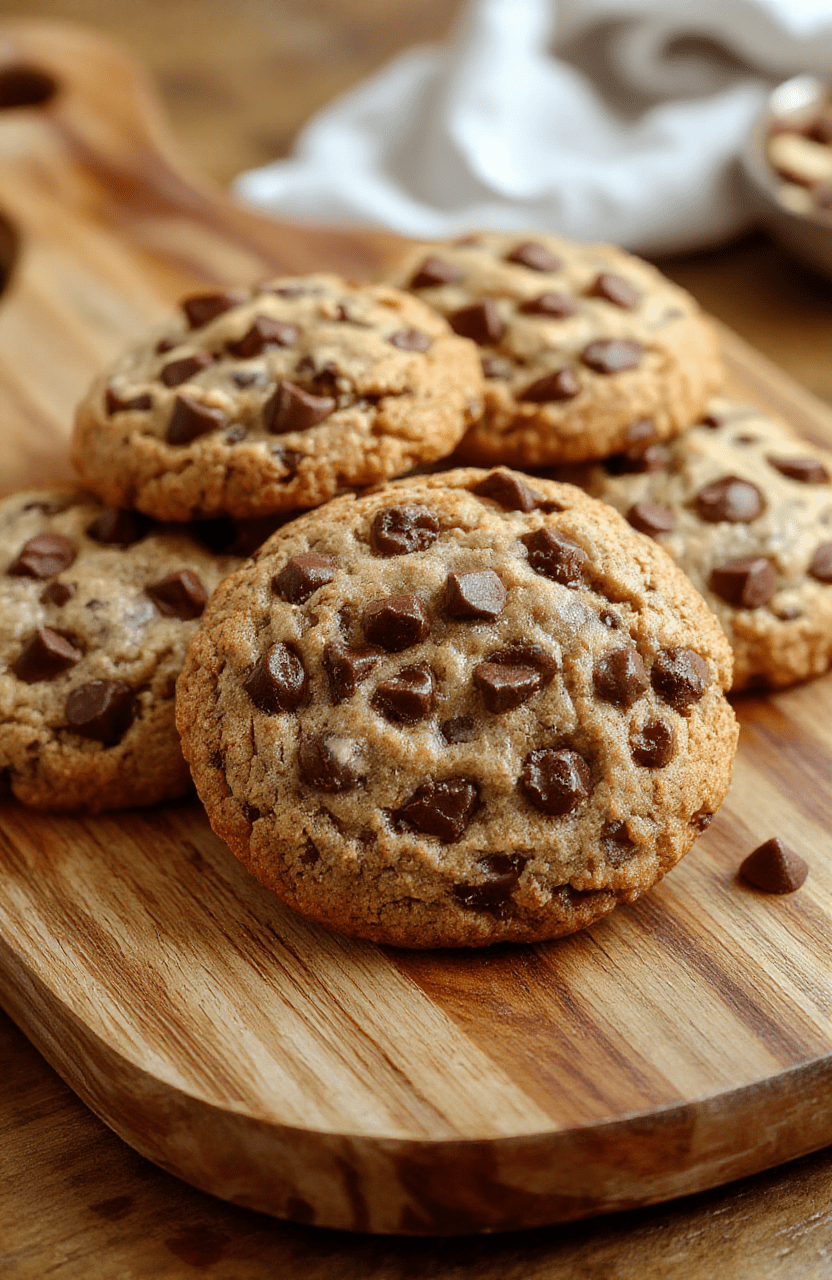
There’s nothing quite like the warm, buttery aroma of bakery style chocolate chip cookies fresh out of the oven—golden edges, a soft, slightly underbaked center, and melty chocolate pools holding everything together. This recipe captures that iconic texture and flavor with a few clever tweaks rooted in professional baker science: a longer chill time, a balance of brown and white sugars for depth, and a pinch of extra salt to elevate every bite. If you’ve ever craved a classic chocolate chip cookie that doesn’t taste store-bought or overly sweet, you’re in the right place.
2. Why You’ll Love This Recipe
- Soft & Chewy Center, Crisp Edges: Unlike many recipes thatResult in dry or cakey cookies, this one nails the ideal texture every time.
- One-Batch Wonder: Makes about 24 substantial cookies—perfect for sharing (or not).
- Make-Ahead Friendly: Dough keeps well in the fridge for up to 5 days, or freezes beautifully for up to 3 months.
- No fancy equipment required: Mix by hand or use a stand mixer—your call!
3. Ingredient Notes
Quality makes all the difference when chasing that bakery magic. Here’s what to look for—and why:
Unsalted butter: I recommend European-style butter like Plugrá or Organic Valley Cultured Butter—the higher fat content yields richer flavor and a chewier texture.
Brown sugar: Use a mix of light *and* dark brown sugar. Dark brown gives a deeper molasses note, but light works in a pinch. Avoid all-light unless you want a subtler flavor.
Vanilla extract: Go for Madagascar Bourbon vanilla bean extract (like Frontier Co-op or Nielsen-Massey). Real vanilla adds that unmistakable warmth.
Chocolate: Ghirardelli 60% Cacao Bittersweet Bars or Guittard Chocolate Chunks are my go-to. Chop them roughly yourself for uneven, melty pockets—just like at your favorite café.
Flour: All-purpose is perfect here. For a subtle nuttiness, swap 2 tablespoons with cake flour—*but don’t overdo it*. Too much alters structure.
4. Kitchen Tools You Need
While you *can* make these with a bowl and spatula, having the right tools improves results—and the following picks are favorites from my test kitchen:
If you love batch baking, the KitchenAid Artisan 5-Quart Stand Mixer in Scorched Orange is a game-changer. Its powerful motor whips butter and sugar in minutes, giving your dough the proper aeration for lift and chew.
For perfectly uniform scooping (and less mess), I swear by a classic cookie scoop—like the Deluxe 33-Piece Silicone Utensil Set, which includes a robust 3-tablespoon cookie scooper.
A rimmed baking sheet lined with parchment ensures even heat distribution and prevents sticking. For heavier-duty, warp-resistant sheets, try the T-fal 14-Piece Hard Anodized Nonstick Cookware Set (it includes sturdy baking sheets).
And for those days you want speed and precision, the Compact 6-in-1 Digital Air Fryer by Amazon Basics can roast small batches extra-fast—though I caution against air-frying large batches here. The dry heat can over-crisp edges before centers set.
5. How to Make Bakery-Style Chocolate Chip Cookies
Phase 1: Cream the Butter & Sugars
In a large bowl (or your stand mixer with paddle attachment), beat 1 cup (226g) softened unsalted butter, ¾ cup packed light brown sugar, and ¼ cup granulated sugar until light and fluffy—about 2–3 minutes. Scrape the bowl, then add 2 large eggs (one at a time) and 2 teaspoons pure vanilla extract. Mix just until combined.
Phase 2: Incorporate the Dry Ingredients
In a separate bowl, whisk together 2¼ cups (280g) all-purpose flour, 1 teaspoon baking soda, and 1 teaspoon fine sea salt. Gradually add the dry mix to the wet, mixing on low until *just* combined. Overmixing = tough cookies. A few streaks of flour are okay—they’ll disappearing during chilling.
Phase 3:Fold in Chocolate
Stir in 2 cups (340g) chopped bittersweet chocolate or chocolate chips using a sturdy spatula or wooden spoon. I prefer chunky pieces but 2 cups of high-quality chips (like Kirkland Signature) also work well.
Phase 4: Chill the Dough
Cover the bowl and refrigerate for *at least 24 hours*, ideally 48. This step deepens flavor, prevents spreading, and builds chew. (Yes—waiting is worth it.)
Phase 5: Scoop & Bake
Preheat oven to 350°F (175°C). Line two baking sheets with parchment. Scoop dough into 3-tablespoon mounds (they’ll look larger than store-bought—good!). Place 6–8 per sheet, spacing evenly. Sprinkle lightly with flaky sea salt.
Bake one sheet at a time for 12–14 minutes, rotating halfway. You’ll know they’re done when edges are golden but centers still look slightly underdone. Cool on the sheet for 10 minutes before transferring to a rack.
6. Expert Tips for Success
Butter temperature matters: It should be cool to the touch, still firm but indented when pressed. Warm butter = flat, greasy cookies.
Don’t overbake:Cookies continue cooking on the hot sheet. Pull them at 12 minutes if your oven runs hot, or 14 if more moderate.
Chill time is non-negotiable: The longer the better (within 48 hours), but even 12 hours helps structure.
Bake one sheet at a time:An oven with hot spots will cook unevenly if two sheets are used—unless you rotate front-to-back *and* top-to-bottom mid-way.
7. Variations & Substitutions
- Gluten-free: Swap flour 1:1 with a trusted blend like Bob’s Red Mill 1:1 (add ½ tsp xanthan gum if not included).
- Vegan: Use plant-based butter (like Earth Balance), flax eggs (2 tbsp ground flax + 5 tbsp water), and dairy-free chocolate chips.
- Nutty twist: Fold in ½ cup toasted walnuts or pecans.
- Sea salt & caramel: Swap 1 tbsp sugar for brown sugar + drizzle with caramel sauce post-bake.
- Espresso chocolate chip: Add 1 tsp instant espresso powder to the dry ingredients—it enhances chocolate flavor without tasting like coffee.
8. Storage & Reheating
Store cooled cookies in an airtight container at room temperature for up to 5 days. For longer storage, freeze scooped dough balls (unbaked) in a sealed bag for up to 3 months—bake 2–3 minutes longer from frozen.
To refresh: Warm in a 300°F (150°C) oven for 5 minutes, or microwave one cookie for 10–15 seconds. For a crisp-edged surprise, finish in an air fryer at 300°F for 2–3 minutes.
For perfect portion control and freshness, the JoyJolt Airtight Glass Food Storage Set keeps cookies moist without sogginess—and looks beautiful on your counter.
9. FAQ
Why are my cookies flat and spread too much?
Most likely, your butter was too warm, or you skipped chilling. Also double-check your baking soda is fresh—expired leavening loses power. Try sifting it first if you’re unsure.
Can I make mini cookies?
Absolutely! Scoop dough with a 1-tablespoon measure and reduce bake time to 9–10 minutes. These are fantastic for parties or lunchboxes.
Can I double the recipe?
Yes—and I recommend doing so. Dough keeps beautifully in the fridge, so bake half now and save the rest for later. The flavor deepens over time.
How do I get that bakery shine?
A light brush of milk or egg white wash before baking helps with browning and sheen—but for home bakers, the real magic lies in high-quality chocolate and proper chilling.
10. Conclusion
These bakery style chocolate chip cookies deliver on every promise: rich buttery layers, deep caramelized sugar notes, and chocolate that oozes just enough. Follow the chilling and baking tips, and you’ll have guests wondering if you’ve been secretly training under a master baker!
Craving more crowd-pleasers? Dive into our Ultimate Moist Chocolate Banana Bread, or try the savory comfort of Dump-and-Go Smothered Pork Chops next.
Print
Bakery-Style Chocolate Chip Cookies
Bakery-style chocolate chip cookies that are soft, chewy, and loaded with chocolate—perfect for gifting or weeknight treats.
- Total Time: 25 minutes + chilling
- Yield: 24 cookies 1x
Ingredients
- 2 1/4 cups all-purpose flour
- 1 tsp baking soda
- 1 tsp salt
- 1 cup (2 sticks) unsalted butter, room temperature
- 3/4 cup granulated sugar
- 3/4 cup packed brown sugar
- 2 large eggs
- 1 tsp vanilla extract
- 2 cups semisweet chocolate chips
- Optional: 1/2 cup chopped walnuts or pecans
Instructions
- Whisk flour, baking soda, and salt in a bowl. Set aside.
- Beat butter and sugars until light and fluffy (3–5 mins).
- Add eggs one at a time, then mix in vanilla.
- Gradually blend in flour mixture.
- Stir in chocolate chips (and nuts, if using).
- Chill dough for at least 24 hours (essential for flavor and texture).
- Preheat oven to 375°F (190°C). Scoop 3-tablespoon portions onto parchment-lined sheets.
- Bake 9–11 minutes until golden but soft-centered.
- Cool on sheets 5 mins, then transfer to racks.
Notes
- Chilling dough for 24–72 hours improves flavor and prevents spreading.
- For extra chewiness, use bread flour or add 1 tbsp cornstarch.
- Don’t overbake—cookies firm up as they cool.
- Prep Time: 15 minutes
- Cook Time: 10 minutes
- Method: Baking
- Cuisine: American
- Diet: Vegetarian
Nutrition
- Serving Size: 1 cookie
- Calories: 160 Kcal
- Sugar: 10g
- Sodium: 95mg
- Fat: 9g
- Saturated Fat: 5g
- Unsaturated Fat: 3g
- Trans Fat: 0g
- Carbohydrates: 19g
- Fiber: 1g
- Protein: 2g
- Cholesterol: 25mg