© Original Recipe By Whisk & Wander ©
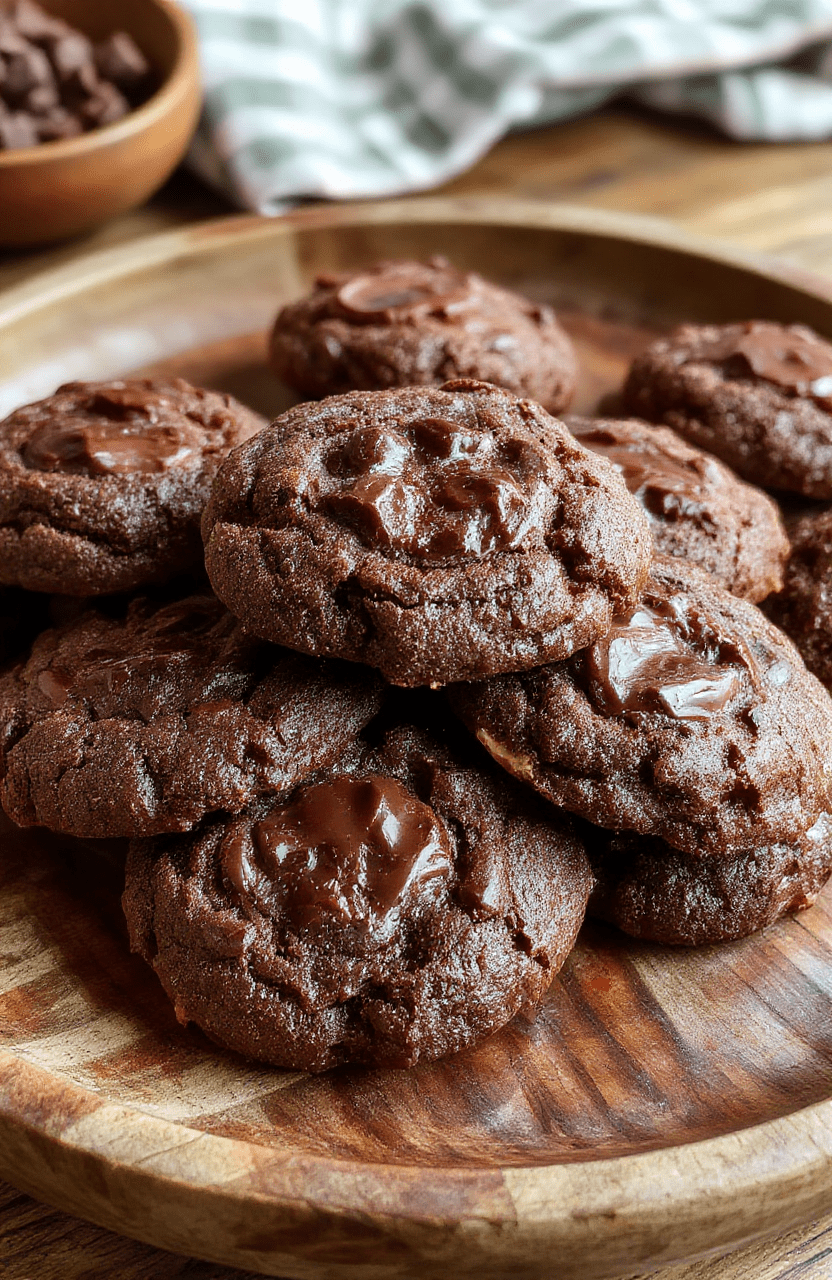
🍪Chewy Chocolate Thumbprint Cookies: An Irresistible Fudgy Dessert!
1. Introduction
If you’re craving a decadent, fudgy treat that melts in your mouth, these Chewy Chocolate Thumbprint Cookies are your new best friend. With their rich chocolate flavor and perfectly crispy edges, these Chocolate Cookies are destined to become a favorite for any dessert lover. Whether you’re baking for a special occasion or simply satisfying a sweet tooth, this recipe promises heavenly bites filled with luscious chocolate goodness.
2. Why You’ll Love This Recipe
- Ready in 30 minutes: Quick to prepare for an indulgent snack or dessert.
- Fudgy and chewy texture: The perfect contrast between crisp exterior and gooey center.
- Versatile flavor profile: Easily customizable with nuts or different chocolates.
- One-bowl simplicity: Minimal dishes and fuss, perfect for busy days.
3. Ingredient Notes
To get that signature fudgy texture and rich chocolate flavor, choosing high-quality ingredients is a must. Opt for good quality cocoa powder—Dutch-processed cocoa gives a deeper, more intense chocolate taste, while natural cocoa works well for a more pronounced, tangy flavor. Use butter for that silky mouthfeel and to help the cookies spread just enough for a delicate, chewy center. For added depth, a splash of vanilla extract brings out the chocolate’s complexity. When selecting chocolate, choose bittersweet or semisweet chocolate chips or chunks for the filling, ensuring a smooth, melt-in-your-mouth experience. To enhance flavor and texture, you might even sprinkle some coarse sea salt on top before baking for that perfect balance of sweet and salty.
4. Kitchen Tools You Need
Having the right tools makes baking these Chocolate Thumbprint Cookies a breeze. A reliable Compact 6-in-1 Digital Air Fryer by Amazon Basics can help you bake cookies evenly, especially if you prefer an air fryer version for speed and crispiness. For preparing and mixing, a sturdy KitchenAid Artisan 5-Quart Stand Mixer in Scorched Orange ensures your dough is perfectly combined without mess. Finally, a good-quality cookie scoop guarantees evenly sized cookies, ensuring they bake uniformly every time.
5. How to Make Chewy Chocolate Thumbprint Cookies
Mix the dough
Begin by creaming together softened butter and sugar until the mixture turns light and fluffy—this process incorporates air, giving your cookies a tender crumb. Stir in vanilla extract for added aroma. In a separate bowl, whisk together cocoa powder, flour, and a pinch of salt. Gradually blend the dry ingredients into the wet mixture until a thick, fudgy dough forms. The dough should be pliable but firm enough to roll into balls.
Shape the cookies
Using a cookie scoop or your hands, form small balls about 1 to 1.5 inches in diameter. Place them on a parchment-lined baking sheet, spacing them sufficiently to allow for spread. Using your thumb or the back of a measuring teaspoon, gently press down in the center of each cookie to create a well. The shape should resemble a little cup, ready to hold your chocolate filling.
Bake and fill
Bake the cookies in a preheated oven at 350°F (175°C) for approximately 10-12 minutes. You’re looking for slightly crispy edges while the centers remain chewy. While warm, press a few chocolate pieces or chips into each thumbprint. As they melt, gently spread the chocolate to fill the well. Allow the cookies to cool completely before serving—the chocolate will firm up, creating that irresistibly fudgy center.
6. Expert Tips for Success
- Chill the dough: If your dough feels too soft, chilling it for 15-20 minutes makes shaping easier and prevents spreading.
- Don’t overbake: Slightly underbaking ensures that chewy texture you want. The centers will firm up as they cool.
- Use fresh chocolate: Melting stale or old chocolate may not produce smooth, glossy filling. Keep chocolate stored in a cool, dry place.
- Optional toppings: Sprinkle flaky sea salt or chopped nuts before baking for added texture and flavor variation.
7. Variations & Substitutions
This recipe lends itself to creativity. Swap the cocoa powder for carob powder for a caffeine-free alternative. For a nutty twist, incorporate chopped pecans or walnuts into the dough. If you prefer a dairy-free version, use vegan butter and dairy-free chocolate chips. For a more festive touch, add a bit of peppermint extract or swirl in some caramel before filling the thumbprints.
8. Storage & Reheating
Store these dessert cookies in an airtight container at room temperature for up to 3 days for maximum freshness. To keep them soft and chewy, add a slice of bread or a few pieces of rice in the container. For longer storage, freeze the cookies wrapped in plastic wrap and stored in an airtight bag for up to a month. When ready to enjoy, simply thaw at room temperature and reheat briefly in the microwave for a warm, fudgy experience.
9. FAQ
Can I make these cookies gluten-free?
Yes! Substitute the all-purpose flour with a gluten-free flour blend. Make sure the blend contains xanthan gum or add a small amount to mimic the binders present in regular flour.
How do I get perfectly round thumbprints?
Chill the dough before shaping to prevent spreading. Use a cookie scoop for uniform balls, then gently press only once to make the well. Handle the dough minimally to keep its shape.
Can I fill these cookies with other fillings?
Absolutely! While chocolate is classic, try caramel, peanut butter, or fruit preserves for a delightful flavor variety.
10. Conclusion
These Chewy Chocolate Thumbprint Cookies are a foolproof way to satisfy any chocolate craving with their luscious fudgy interior and lightly crispy exterior. Their ease of preparation makes them perfect for last-minute desserts or special occasions. Once baked, they’ll fill your kitchen with irresistible aroma and leave everyone reaching for seconds. Happy baking!
Print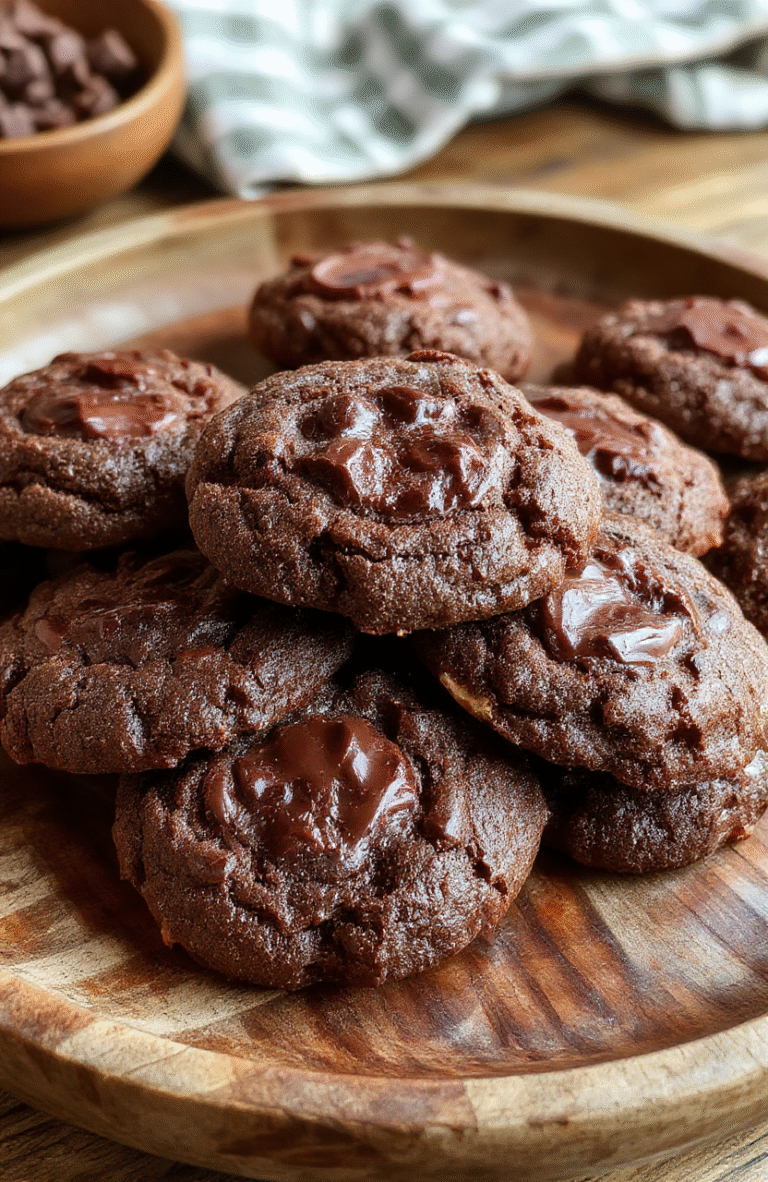
Chewy Chocolate Thumbprint Cookies Easy Fudgy Dessert
Chewy chocolate thumbprint cookies with a rich, fudgy filling, perfect for a quick dessert or snack. Easy to make and irresistibly fudgy, these cookies are a chocolate lover’s dream.
- Total Time: 22 minutes
- Yield: 20 cookies 1x
Ingredients
- 1 cup all-purpose flour
- 1/2 cup unsweetened cocoa powder
- 1/2 teaspoon baking powder
- 1/4 teaspoon salt
- 1/2 cup unsalted butter, softened
- 1/2 cup granulated sugar
- 1 large egg
- 1 teaspoon vanilla extract
- 1/2 cup chocolate chips, melted
Instructions
- Preheat oven to 350°F (175°C). Line baking sheets with parchment paper.
- In a bowl, whisk together flour, cocoa powder, baking powder, and salt.
- In a separate bowl, cream butter and sugar until light and fluffy.
- Add egg and vanilla, mix well.
- Gradually mix in dry ingredients until combined.
- Form dough into 1-inch balls and place on prepared baking sheets.
- Bake for 10-12 minutes. Remove and let cool slightly.
- Melt chocolate chips and fill the thumbprint centers while cookies are still warm.
Notes
- Ensure butter is softened for easy mixing.
- You can adjust the amount of chocolate filling to your preference.
- Prep Time: 10 minutes
- Cook Time: 12 minutes
- Method: Baking
- Cuisine: American
- Diet: Vegetarian
Nutrition
- Serving Size: 1 cookie
- Calories: 120 Kcal
- Sugar: 8g
- Sodium: 35mg
- Fat: 7g
- Saturated Fat: 4g
- Unsaturated Fat: 2g
- Trans Fat: 0g
- Carbohydrates: 15g
- Fiber: 2g
- Protein: 2g
- Cholesterol: 15mg