© Original Recipe By Whisk & Wander ©
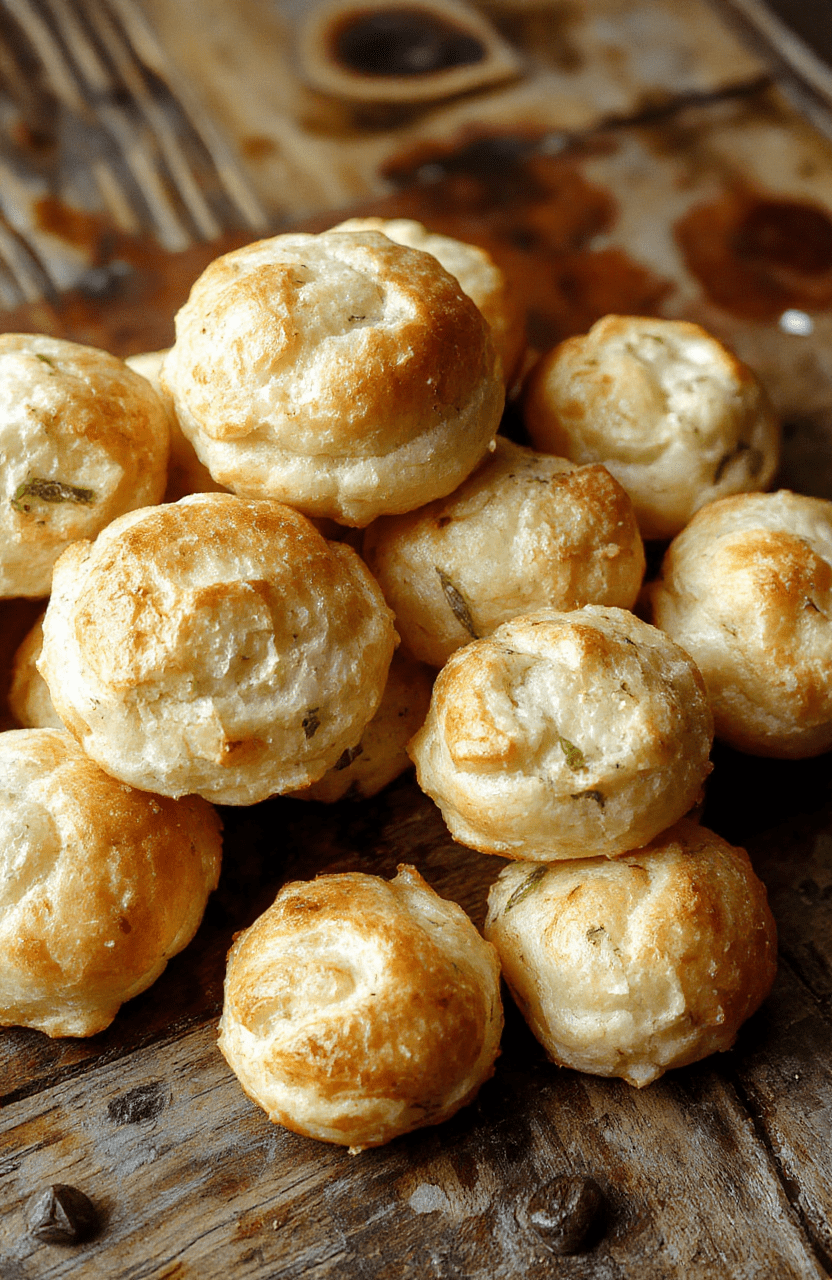
🧄🍞 Fluffy Garlic Rolls Bake Your Perfect Side Dish
1. Introduction
If you’re craving a warm, aromatic side that complements any meal, look no further than these garlic rolls. With their pillowy-soft interior and crispy golden crust, they’re the ultimate comfort food. This recipe transforms simple ingredients into a delightful treat, perfect for family dinners, holidays, or even a quick snack. The fragrant garlic butter infuses each bite with savory goodness, making these garlic bread or soft dinner rolls a hit on the dining table.
2. Why You’ll Love This Recipe
- Ready in under 1 hour — perfect for busy weeknights.
- Versatile side dish that pairs beautifully with soups, salads, or main courses.
- Soft, fluffy texture with a crispy, buttery crust.
- Simple ingredients that deliver maximum flavor.
3. Ingredient Notes
When crafting these garlic rolls, quality ingredients truly make a difference. Use fresh yeast for an extra rise and fluffiness, and opt for high-quality, unsalted butter to balance the aromatic garlic with creamy richness. For the garlic, fresh cloves minced finely will release their pungent aroma thoroughly, enhancing the overall flavor. You can even experiment with garlic powder for convenience, but fresh garlic provides a more vibrant taste. To elevate the flavor sophistication, consider using a good quality olive oil or a drizzle of balsamic vinegar in your garlic butter mixture. These choices ensure your garlic rolls are flavorful, moist, and delightfully aromatic.
4. Kitchen Tools You Need
To achieve that perfect fluffy texture and golden exterior, having the right tools is essential. Check out the KitchenAid Artisan 5-Quart Stand Mixer in Scorched Orange which makes kneading dough effortless and ensures consistent results. A good quality Compact 6-in-1 Digital Air Fryer can also be handy if you’d like to give your rolls a crispy finish without turning on the oven. Investing in precise measuring cups and spoons, along with a silicone pastry brush, will help you brush on that luscious garlic butter evenly. These tools streamline the cooking process and help you create bakery-quality garlic rolls right at home.
5. How to Make Fluffy Garlic Rolls
Preparation & Dough
Begin by activating your yeast — warm a cup of milk until it’s just lukewarm, then stir in a teaspoon of sugar and your yeast. Wait until it foams, showing that it’s active, which takes about 5-10 minutes. During this time, combine flour, sugar, salt, and softened butter in your stand mixer or a large bowl. Pour in the yeast mixture and knead until the dough becomes soft, slightly sticky, and elastic — it’ll develop a smooth surface and pass the windowpane test. Cover with a damp cloth and let it rise until doubled, about 1 to 1.5 hours, in a warm, draft-free spot.
Forming & Baking
Once risen, punch down the dough gently and turn it onto a floured surface. Roll out into a large rectangle, then evenly spread your prepared garlic butter over the surface. Roll it tightly into a log, then cut into even slices or separate into small rolls. Arrange on a baking sheet lined with parchment paper; let them rest for another 20 minutes to rise slightly. When they’re puffed up and touch lightly, bake at 375°F (190°C) until golden brown, about 15-20 minutes. Your kitchen will fill with the irresistible aroma of garlic and freshly baked bread.
6. Expert Tips for Success
- Use fresh yeast and proof it properly for maximum rise and fluffiness.
- Don’t overbake — keep a close eye on those golden edges.
- Brush the garlic butter on hot rolls to melt it into every crevice for extra flavor.
- Allow the dough to rest and rise adequately — patience here guarantees soft, pillowy rolls.
7. Variations & Substitutions
If you’re dairy-free or vegan, substitute butter with margarine or olive oil, and ensure your garlic butter is free from animal products. You can add grated cheese or herbs like parsley or rosemary to the garlic butter for extra flavor. Whole wheat flour can be integrated for a healthier twist, though it may slightly affect the texture. For an extra cheesy touch, sprinkle shredded mozzarella or Parmesan on top before baking.
8. Storage & Reheating
Leftover garlic rolls can be stored in an airtight container at room temperature for up to 2 days or in the refrigerator for up to a week. To revive their softness, reheat in a warm oven or microwave. For added convenience, you can freeze the rolls individually wrapped, then bake straight from frozen for a quick, delicious snack or side anytime.
9. FAQ
Can I make these garlic rolls ahead of time?
Absolutely! Prepare the dough, let it rise, and shape the rolls. Store them covered in the fridge overnight. Bake them fresh the next day for that just-baked feel.
What if I don’t have fresh garlic?
Garlic powder works as a substitute, but fresh garlic provides a punchier, more aromatic flavor. Use about a teaspoon of garlic powder in place of 2-3 cloves.
Can these rolls be made vegan?
Yes, use plant-based butter and omit any dairy ingredients. You can add nutritional yeast or vegan cheese for extra flavor and richness.
What side dishes go well with garlic rolls?
They’re perfect alongside creamy Parmesan chicken pasta, hearty soups, or fresh salads.
10. Conclusion
Nothing beats the comforting warmth and irresistible aroma of homemade garlic rolls. With their fluffy texture and crispy edges, they’re the perfect side to elevate any meal. Whether you’re a seasoned baker or a kitchen novice, this recipe is straightforward and rewarding. Whip up a batch today and enjoy the simple pleasure of fresh, garlicky goodness baked right in your home. For more handy kitchen gadgets to enhance your baking journey, check out the Compact 6-in-1 Digital Air Fryer or the KitchenAid Stand Mixer.
Print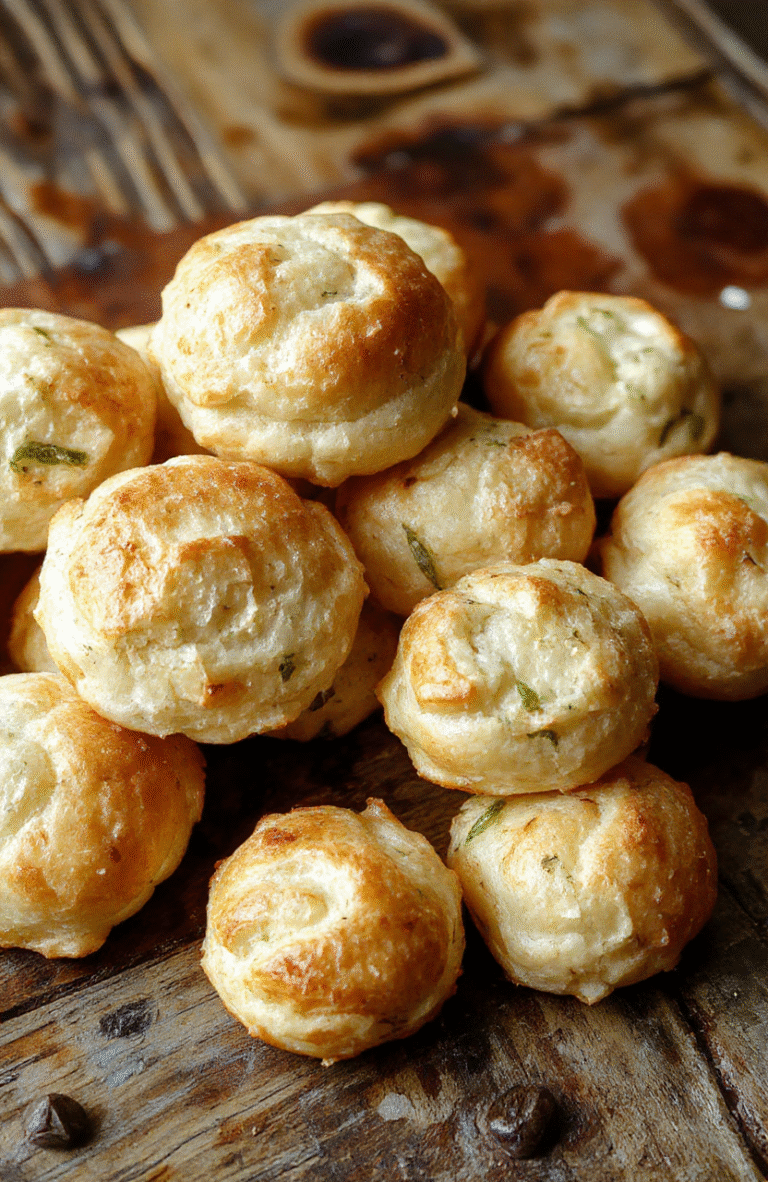
Fluffy Garlic Rolls Bake Your Perfect Side Dish
A classic, melt-in-your-mouth garlic roll recipe that elevates any meal with fluffy texture and flavorful garlic butter.
- Total Time: 1 hour 35 minutes
- Yield: 12 rolls 1x
Ingredients
- 2 ¼ cups all-purpose flour
- 1 packet active dry yeast
- ¾ cup warm milk
- ¼ cup unsalted butter, melted
- 2 cloves garlic, minced
- 1 teaspoon sugar
- 1 teaspoon salt
- 1 egg
- Fresh parsley for garnish
Instructions
- In a small bowl, dissolve yeast and sugar in warm milk; let sit until frothy, about 5 minutes.
- In a large bowl, combine flour and salt. Add the yeast mixture, melted butter, egg, and minced garlic. Mix until dough forms.
- Knead the dough on a floured surface for about 8 minutes until smooth and elastic.
- Place dough in a greased bowl, cover, and let rise in a warm place for about 1 hour, until doubled in size.
- Preheat oven to 375°F (190°C). Punch down the dough and divide into 12 equal pieces.
- Shape each piece into a ball and place on a greased baking sheet. Let rise for another 20 minutes.
- Bake for 15-20 minutes until golden brown. Brush with melted garlic butter and garnish with parsley. Serve warm.
Notes
- For extra flavor, add grated Parmesan cheese to the dough or garlic butter topping before baking.
- Ensure the milk is warm but not hot to activate the yeast properly.
- You can prepare the dough ahead and refrigerate overnight for fresh, warm rolls in dinner.
- Prep Time: 15 minutes
- Cook Time: 20 minutes
- Method: Baking
- Cuisine: American
- Diet: Vegetarian
Nutrition
- Serving Size: 1 roll
- Calories: 180 kcal Kcal
- Sugar: 3 g
- Sodium: 220 mg
- Fat: 8 g
- Saturated Fat: 4 g
- Unsaturated Fat: 3 g
- Trans Fat: 0 g
- Carbohydrates: 25 g
- Fiber: 1 g
- Protein: 5 g
- Cholesterol: 20 mg